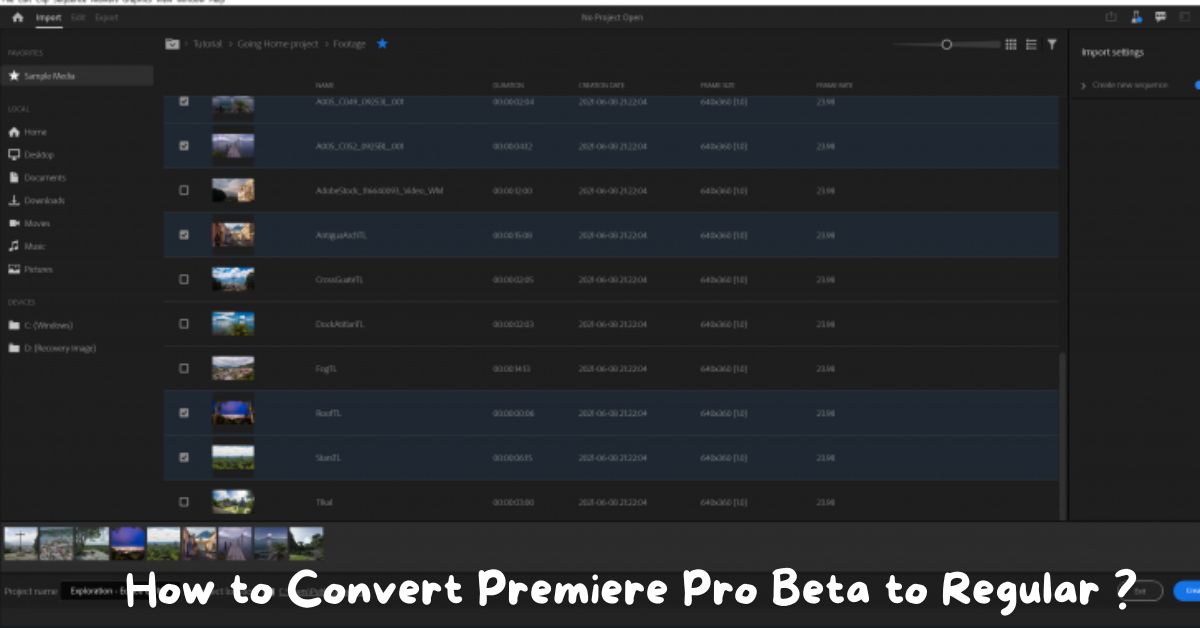
Adobe Premiere Pro is a versatile and powerful video editing software used by professionals and enthusiasts alike. With the introduction of Premiere Pro Beta, Adobe offers users the opportunity to preview upcoming features and enhancements. However, there may come a time when you need to convert from Premiere Pro Beta to the regular version. In this article, we’ll explore the process and provide helpful tips for a smooth transition.
Introduction to Premiere Pro Beta
What is Premiere Pro Beta?
Premiere Pro Beta is a testing platform provided by Adobe to gather feedback and insights from users before releasing new features to the public. It allows users to explore upcoming changes and improvements before they are officially rolled out.
Features and benefits of Premiere Pro Beta
Premiere Pro Beta offers access to experimental features, early bug fixes, and performance enhancements. Users can test new tools and workflows, providing valuable feedback to Adobe for further refinement.
Differences between Premiere Pro Beta and Regular Version
Major variations in interface and functionality
Premiere Pro Beta may have a different interface layout and feature set compared to the regular version. Some tools or functionalities may be exclusive to the beta version or may undergo changes before the final release.
Compatibility issues and limitations
Projects created or edited in Premiere Pro Beta may not be fully compatible with the regular version. Certain plugins, presets, or project settings may not transfer seamlessly, requiring additional steps for conversion.
Reasons to Convert Premiere Pro Beta to Regular
Stability and reliability concerns
Beta software is inherently less stable than the final release version. Users may encounter bugs, crashes, or performance issues that affect their workflow and productivity.
Need for full feature set and support
The regular version of Premiere Pro offers a complete set of features and functionalities, along with dedicated technical support from Adobe. Users may require access to specific tools or services not available in the beta version.
Steps to Convert Premiere Pro Beta to Regular
Backing up projects and preferences
Before uninstalling Premiere Pro Beta, it’s essential to back up any ongoing projects, custom presets, or preferences to ensure they can be transferred to the regular version seamlessly.
Uninstalling Premiere Pro Beta
Navigate to the Adobe Creative Cloud app and locate Premiere Pro Beta in the installed applications list. Click on “Uninstall” and follow the prompts to remove the beta version from your system.
Downloading and installing regular version
Open the Adobe Creative Cloud app and search for Premiere Pro in the Apps section. Click on “Install” to download and install the regular version of Premiere Pro on your system.
Importing projects and settings
Once the regular version is installed, launch Premiere Pro and import your backed-up projects and preferences. Ensure that all settings are configured correctly for optimal performance.
Tips for Smooth Transition
Checking compatibility of projects
Before converting, verify that your projects are compatible with the regular version of Premiere Pro. Check for any unsupported features or effects that may need to be adjusted.
Utilizing Adobe Creative Cloud features
Adobe Creative Cloud offers seamless integration between applications, allowing for easy transfer of projects and settings. Take advantage of cloud storage and syncing options to streamline the transition process.
Customizing settings for optimal performance
Adjust Premiere Pro settings to match your workflow and hardware specifications. Optimize performance by configuring preferences such as memory allocation, GPU acceleration, and project settings.
Troubleshooting Common Conversion Issues
Error messages and their solutions
If you encounter any error messages during the conversion process, refer to Adobe’s support documentation or community forums for troubleshooting steps and solutions.
Dealing with missing plugins or presets
Some plugins or presets used in Premiere Pro Beta may not be available in the regular version. Look for alternative options or consider reinstalling compatible plugins as needed.
Reconfiguring preferences and workspace
After converting to the regular version, review and adjust your preferences and workspace layout to match your preferences and workflow habits.
Final Checks and Quality Assurance
Testing functionality and stability
Before resuming your editing workflow, thoroughly test the regular version of Premiere Pro to ensure stability and performance. Check for any issues or discrepancies compared to the beta version.
Ensuring project integrity and compatibility
Verify that all imported projects maintain their integrity and compatibility with the regular version. Make any necessary adjustments or corrections to ensure seamless continuity.
Making necessary adjustments post-conversion
After the conversion process is complete, continue working on your projects as usual. Address any new issues or challenges that may arise and adapt your workflow accordingly.
Conclusion
Converting from Premiere Pro Beta to the regular version may seem daunting, but with proper preparation and guidance, it can be a smooth and straightforward process. By following the outlined steps and tips, you can ensure a seamless transition and continue creating high-quality video content with confidence.
ALSO READ: CÑIMs
FAQs (Frequently Asked Questions)
- Is it necessary to convert from Premiere Pro Beta to the regular version?
- While not mandatory, converting to the regular version ensures access to stable features and full support from Adobe.
- Will I lose any data or settings during the conversion process?
- By backing up projects and preferences beforehand, you can minimize the risk of data loss or configuration issues.
- Can I switch back to Premiere Pro Beta after converting to the regular version?
- Yes, you can reinstall Premiere Pro Beta at any time through the Adobe Creative Cloud app if needed.
- Are there any differences in pricing between Premiere Pro Beta and the regular version?
- Premiere Pro Beta is typically offered as part of Adobe’s Creative Cloud subscription at no additional cost.
- How often should I check for updates or new features in Premiere Pro Beta?
- Adobe releases regular updates and feature enhancements for Premiere Pro Beta, so it’s advisable to check for updates periodically to stay up-to-date with the latest developments.


