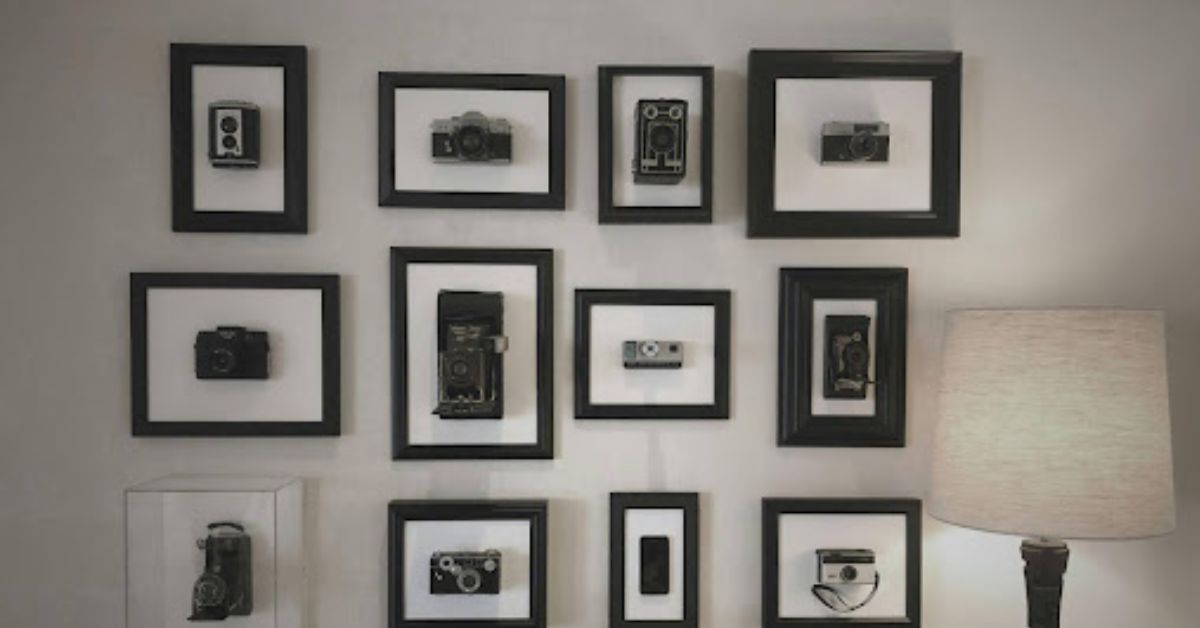
Blank walls are opportunities. Whether you’re decorating a home office, living room, or entryway, a thoughtfully curated gallery wall can instantly transform a plain space into a personalized focal point. And contrary to popular belief, you don’t need a professional decorator—or a big budget—to make it look like something out of a design magazine.
Creating a gallery wall that reflects your personality doesn’t require expensive frames or rare prints. With a bit of planning, resourceful sourcing, and creative layout ideas, you can build an eye-catching arrangement that turns heads and sparks conversation. One of the best upgrades to consider? A custom gallery wrapped canvas—a sleek, ready-to-hang piece that adds professional polish to even the simplest collection.
Let’s break down how you can curate a stylish, budget-friendly gallery wall that elevates your space without draining your wallet.
Step 1: Find Your Theme or Visual Story
A great gallery wall doesn’t have to be matchy-matchy—but it should feel intentional. Before you start buying prints or digging through your photo roll, take time to decide what story you want the wall to tell.
Here are a few popular themes:
- Travel Memories: Showcase your adventures through photos, postcards, or maps.
- Color Story: Stick with a few tones (e.g., black & white, sepia, earth tones) for cohesion.
- Family + Friends: Mix candid photos with quotes, initials, or kid art.
- Inspirational Vibes: Use motivational phrases, typography prints, and calming imagery.
- Art-Focused: Combine sketches, abstract pieces, or bold prints from emerging artists.
Tip: Lay out your ideas on a Pinterest board or a collage app to get a sense of how everything will work together visually.
Step 2: Source Artwork Affordably
You don’t need to spend hundreds on gallery-worthy art. There are dozens of online and offline sources where you can find affordable, printable, or even free artwork:
Where to look:
- Online marketplaces like Etsy, Society6, or Creative Market for digital downloads
- Public domain archives (e.g., The Met’s digital collection) for classic art that’s completely free
- Instagram artists and small creatives offering downloadable pieces
- Thrift stores and estate sales for one-of-a-kind finds
- Your own camera roll—turn favorite photos into prints or canvas
Framing your own photos can add instant visual weight to your wall without the need for ornate or expensive frames.
Step 3: Mix & Match Formats for Depth
To make your gallery wall feel dynamic (not flat or boring), vary the types of prints and materials you use.
Here’s a balanced mix:
- Gallery wrapped canvas for centerpiece or large photos
- Standard photo frames for smaller prints and snapshots
- Floating frames for modern, clean looks
- Unframed art using clips, washi tape, or minimalist hangers
- Wall-mounted objects like mirrors, clocks, woven hangings, or 3D shapes
Using different textures and depths creates natural flow for the eye—while keeping it budget-friendly.
Bonus tip: A bold custom gallery wrapped canvas as your centerpiece can anchor your wall and make the whole setup feel curated—even if the surrounding elements are minimal.
Step 4: Plan Your Layout Before Hanging Anything
A mistake many people make is hanging first, adjusting later. This can leave you with multiple holes in your wall (and regrets).
Try this instead:
- Lay all your frames/art flat on the floor and move them around until you find a pleasing arrangement.
- Trace each frame on paper and tape the paper versions to your wall using painter’s tape.
- Step back and adjust spacing until it feels right.
There are no strict layout rules, but here are some approaches that work:
- Grid layout: Great for uniform frames and symmetrical walls
- Linear row: Ideal over sofas, beds, or entry tables
- Salon-style mix: Varied sizes and frames, creatively arranged (works best with a central anchor piece)
Step 5: Use Budget-Friendly Hanging Tools
Hardware doesn’t need to cost a fortune—or damage your walls.
Some low-cost options include:
- Command strips or hooks for lightweight items
- Velcro picture hangers for renters or non-permanent displays
- Nails + level for heavier pieces (just be precise!)
- Adjustable picture-hanging kits for flexibility and cleaner results
Pro tip: If you’re using a gallery wrapped canvas, most come with hanging hardware included—so you won’t need additional framing or matting.
Step 6: Upgrade One or Two Pieces for Maximum Impact
If you’re decorating on a tight budget, not every element needs to be top-tier. But elevating one or two pieces can instantly upgrade the entire wall. That’s where a custom canvas shines—it turns a simple photo into a professional-looking artwork. Whether it’s a family portrait, landscape, or abstract print, canvas gives the illusion of a more expensive installation and balances out simpler pieces nearby. Consider printing your central piece on canvas, and arranging smaller or thrifted prints around it. You’ll instantly give your gallery wall a “designed” look, even on a shoestring.
Step 7: Don’t Forget Lighting
Lighting has a huge effect on how your gallery wall is perceived. Good lighting can:
- Highlight texture and color
- Make smaller prints stand out
- Reduce shadows and glare
Low-cost lighting upgrades include:
- LED picture lights (battery-powered)
- Wall sconces with adjustable arms
- Track lighting with dimmable settings
- Smart bulbs to control warmth and brightness via app
According to the U.S. Department of Energy, LED bulbs can last up to 25 times longer than incandescent ones and save up to 75% on electricity—so they’re a smart long-term choice too.
Style Doesn’t Have to Be Expensive
A gallery wall is one of the most personal and creative ways to decorate your space—and it doesn’t need to cost a fortune. When you blend smart sourcing with a few upgraded touches, you can create a designer-worthy wall that reflects your story, interests, and personality. From digital downloads to flea market gems and centerpieces printed on canvas, the options are endless if you know where to look and how to plan. Start small. Be intentional. And remember: your home is your canvas—make it a gallery worth showing off.


