The Benefits of Engineered Hardwood Flooring
Engineered hardwood flooring has surged in popularity due to its durability and versatility across various interiors. Unlike traditional hardwood, engineered floors have multiple layers that enhance stability and allow installation in areas with fluctuating humidity and temperature. In addition to adding natural beauty, many homeowners find engineered flooring resilient to normal wear and tear. Selecting a trusted supplier like SOEN is one way to ensure access to quality materials that set the stage for a successful installation and lasting appeal.
One of the key advantages of engineered hardwood is its adaptability. The construction process often uses less slow-growth hardwood, supporting more responsible forestry practices. Engineered flooring can be installed on, above, or below grade, including over radiant heating systems, making it a smart choice for remodels and new builds in diverse environments.
Essential Preparation Steps
A well-executed installation always begins with thorough preparation. Start by measuring each room to determine the right amount of flooring, accounting for about 10% extra to cover mistakes and potential replacements down the line. Let the new planks acclimate in the installation area before work begins, as this step limits expansion or contraction once the floors are in place. Inspect the subfloor for flatness, stability, and moisture content, paying special attention to concrete surfaces that may require moisture barriers for added protection.
Taking time to address these details creates a strong foundation for flawless installation and prevents future concerns such as squeaking or shifting. Removing baseboards and clearing rooms of furniture is also advised for easier access and a more professional finish.
Common Installation Methods
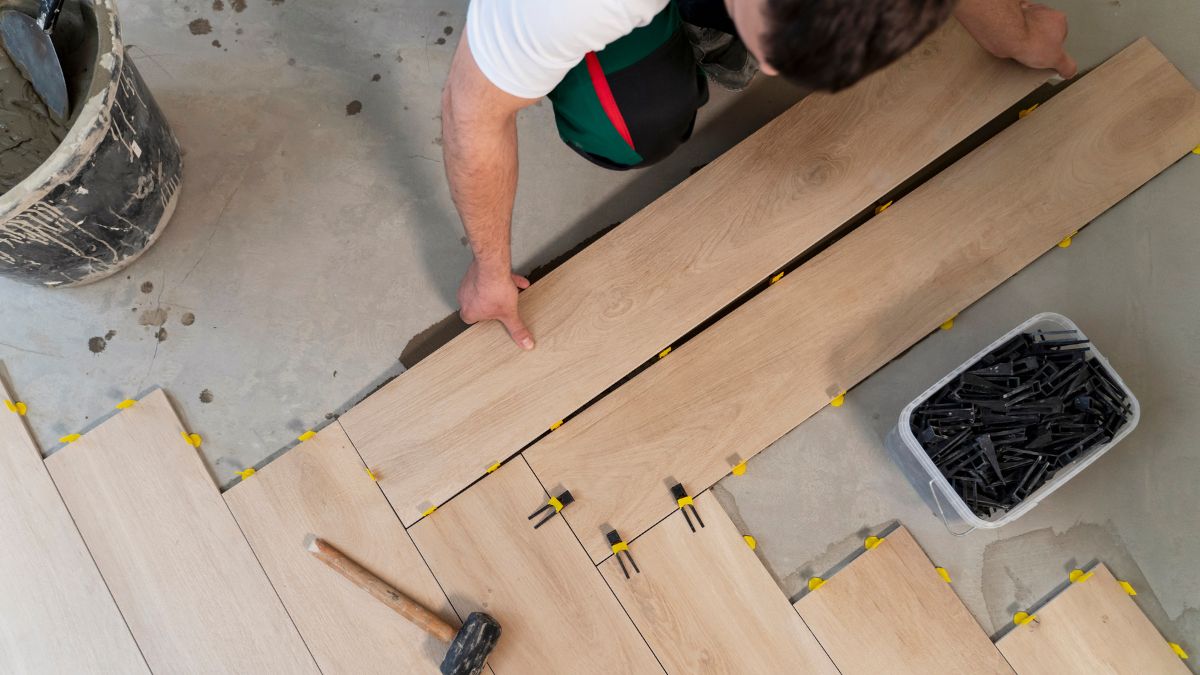
Engineered hardwood can be laid using several methods, each suited to different subfloors and personal preferences. The floating method is often favored for DIY installations, as the boards lock together without attachment to the subfloor. Glue-down is common over concrete, providing a solid feel and enhanced sound dampening. Professionals may recommend nail-down installation for a more permanent result if working with plywood or OSB subfloors.
Selecting the right method involves considering moisture, foot traffic, and the flooring’s intended longevity. Detailed instructions and step-by-step visuals, such as those in this engineered floor installation guide, can support novices and experienced DIYers, ensuring mistakes are minimized and the final floor exceeds expectations.
Acclimating Your Flooring
Acclimation is a key but often overlooked step in the installation process. By letting the planks rest for 48 to 72 hours at the space’s average living temperature and humidity, homeowners help the material adjust gradually and prevent post-install issues like gaps or buckling. Packages should be opened, and boards should be loosely stacked for the best airflow during acclimation. This process levels the moisture between the wood and its environment, protecting the investment and improving installation outcomes.
Post-Installation Care and Maintenance
Once the new flooring is in place, proper care keeps it looking its best. Sweep or vacuum regularly to remove dirt, and address spills promptly to avoid stains or water damage. Using mats at entryways and felt pads under furniture helps preserve the finish. For a deep clean, use products specifically formulated for engineered wood. Annual or biannual inspections for signs of wear, especially in high-traffic areas, ensure long-term performance.
The Value of Professional Guidance
While many homeowners successfully install engineered hardwood themselves, seeking input from flooring professionals can be invaluable. In addition to expediting the procedure, skilled installers offer guidance on subfloor defects, layout patterns, and moisture mitigation. Professional insight can help avoid costly errors and create a finished product that adds value and visual interest to the home. No matter which installation method is selected, blending the right planning, techniques, and care will result in floors that serve beautifully for years to come.


