
Dialing in the Perfect Tone: Getting Your PRS Guitar to Shine Through Your Amp
Alright, let’s talk about dialing in that perfect tone with your Paul Reed Smith guitar and your amp. Whether you’ve got a trusty Fender, a roaring Marshall, or the jangly magic of a Vox, finding that sweet spot can feel like a treasure hunt. But don’t worry – it’s easier than you think. Let’s break it down and get your PRS sounding its best.
Step 1: Get to Know Your Amp
Before anything else, take a moment to familiarize yourself with your amp’s controls. Most amps will have a few standard knobs: Volume, Bass, Mid, Treble, Gain, and sometimes Reverb or other effects. Here’s what each one does:
- Volume: Controls the overall loudness. Experiment with this to find your ideal sound.
- Bass: Adjusts low-end frequencies. Too much can make your sound muddy; too little makes it thin.
- Mid: Controls the mid-range frequencies that give your guitar presence and clarity.
- Treble: Affects the high-end sparkle. Too much can make it harsh, so keep it in check.
- Gain: Adds distortion and grit. Start low, then increase until you get the desired amount of edge.
Start with everything at noon – this is a good starting point for finding your tone.
Step 2: Play Around with Your Tone
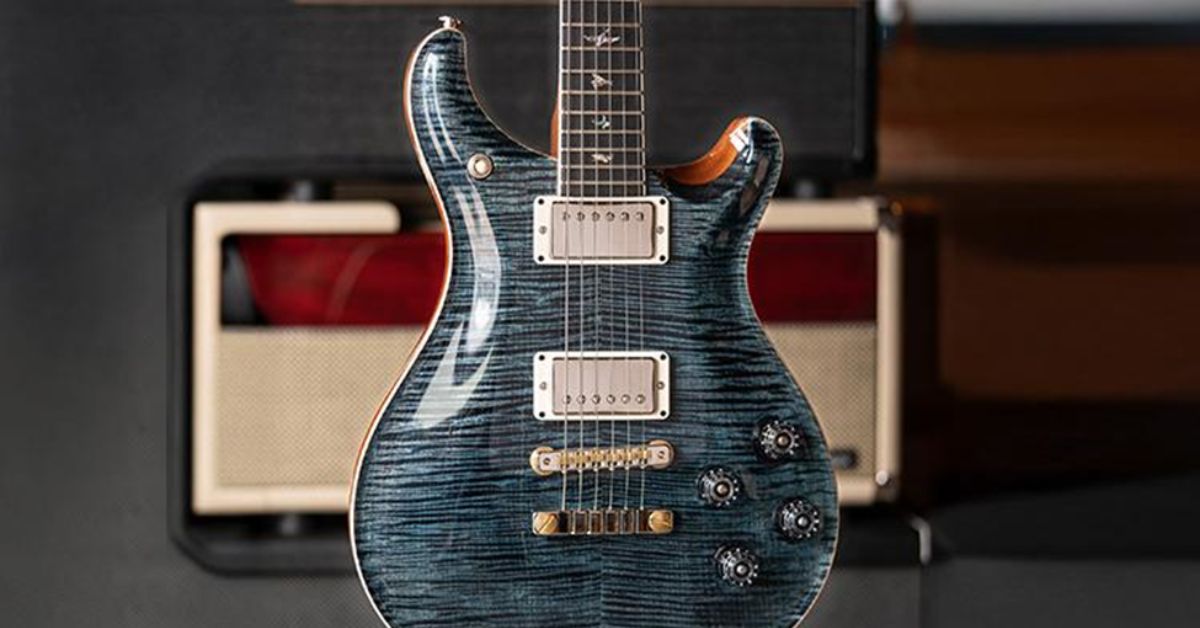
With everything set to the middle, grab your PRS and start playing. The beauty of a PRS is that it’s super dynamic and has a wide frequency range. PRS Guitars pickups are known for being very hi-fi, delivering a clean, clear tone across the entire frequency spectrum, while also maintaining a rich, full low end. This means your PRS can sound full and fat, even in the lower registers, and still have that crisp high end. Adjusting the settings on your amp will help you bring out the best of these tonal qualities. Try this:
- Pickup selector: Use the neck pickup for a smoother, rounder sound, and the bridge pickup for more bite and clarity.
- EQ: Adjust the Bass, Mid, and Treble. A little Bass for warmth (without making it muddy), a touch of Mids for presence and clarity, and Treble for brightness. Play around until it sounds just right for you.
If you’re playing with a band, you might need to tweak the settings a bit to fit in with the other instruments. At home? You’ve got more freedom to explore.
Step 3: Fender Amps and Your PRS
Fender amps are known for their clean, sparkling tones. With a PRS, this is where you’ll get those smooth, glassy sounds. The hi-fi nature of PRS pickups pairs well with Fender amps, as they allow all the frequencies – from the deep lows to the crisp highs – to shine through clearly. Keep the gain low for a clean tone, and boost the mids to help your PRS cut through the mix. Set your treble around 6 or 7 for that sparkle without harshness. If you need a little more edge, bump up the gain, but don’t overdo it unless you want that vintage overdrive sound.
Step 4: Marshall Amps – Crank Up the Grit
Marshall amps are all about rock ‘n’ roll. With your PRS, a Marshall will give you that punchy, mid-forward tone. Since PRS guitars already have a full, robust low end and smooth highs, a Marshall will emphasize the midrange to give you a signature “rock” sound. Start with the gain around 4 or 5 for a nice, warm breakup. Keep the bass tight and the mid range boosted – that’s where the magic happens. Set the treble around 6 for clarity. If you’re cranking it up for solos, you can add a little more gain for extra grit.
Step 5: Vox Amps – Jangly and Bright
Vox amps give you that classic chimey, jangly tone. If you’ve got a PRS, this is perfect for a more open, spacious sound. The clarity and brightness of your PRS pickups blend beautifully with the Vox amp’s character, giving you that airy, defined tone. Keep the gain low (around 3 or 4) for a cleaner sound. Keep the bass low to maintain clarity and boost the mids for a more pronounced presence. Don’t be afraid to crank the treble for that bright, chiming top end. For rhythm, this will give you that crisp, clear tone, and for solos, it’ll add a little sparkle.
Step 6: Fine-Tuning for Live Shows and Recording
When you’re playing live or recording, you might need to make a few adjustments to your amp settings.
- Live Shows: Boost the midrange slightly to help your guitar cut through the mix. A little more gain can help you get that extra push.
- Recording: Lower the gain a bit to keep things clean, and be mindful of your signal levels to avoid clipping. You want a more controlled tone in the studio.
Also, keep in mind that every room has different acoustics, so take a minute before your gig to tweak your settings to match the space.
Step 7: Effects – Adding Flavor
Once you’ve got your tone dialed in, it’s time to have some fun with effects. Reverb, delay, and chorus can add extra depth and personality to your sound.
- Reverb gives your tone space and makes it feel more like a live performance.
- Delay creates an echo that can make your solos stand out.
- Chorus thickens up your clean tones, giving them width and depth.
Just remember: less is often more. A little reverb or delay can go a long way.
Final Thoughts – Have Fun with It!
Finding your perfect PRS tone is all about experimenting. Don’t be afraid to adjust the settings until it feels right. With PRS’s hifi pickups that bring out a full, low-end richness and sparkling highs, paired with the right amplifiers for electric guitars, you can achieve anything from smooth cleans to crunchy rock tones. Whether you’re using a Fender, Marshall, or Vox, each amp offers something unique to help bring out the best in your PRS guitar. So grab your guitar, start dialing in your sound, and most importantly, have fun with it. The perfect tone is waiting for you – it’s just a few tweaks away. Happy playing!