
Did you know a well-built cedar barrier can last over 30 years? That’s nearly twice as long as many standard materials. Whether you’re aiming to boost outdoor security, create privacy, or elevate your home’s curb appeal, the right boundary design makes all the difference.
Choosing materials isn’t just about looks. Cedar, for example, naturally resists rot and insects—saving you money on repairs. But before grabbing supplies, ask: What’s your main goal? Privacy needs taller panels, while decorative styles might focus on aesthetics. Local rules also matter. Over 60% of U.S. homeowners need permits for projects over 6 feet tall.
Planning ahead saves headaches. Renting tools like post-hole diggers from Home Depot cuts costs for DIYers. And don’t forget to chat with neighbors—avoiding disputes keeps the peace (and your property lines clear).
Assessing Your Fencing Needs
Choosing the right fence starts with understanding your property’s unique requirements. Let’s break down the key factors that turn a generic barrier into a perfect match for your lifestyle and landscape.
Defining Your Priorities
Privacy vs Decorative Purposes
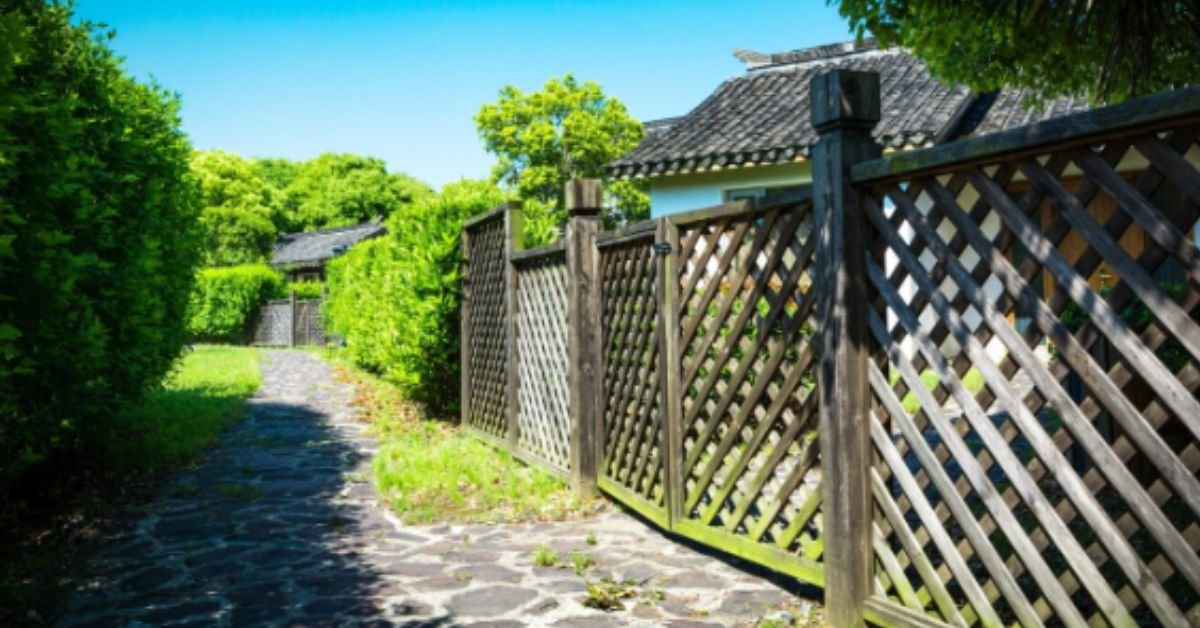
Tall wooden panels create secluded spaces, while ornamental ironwork adds curb appeal. For semi-private solutions, consider shadowbox designs that alternate boards between fence posts. These let breezes through while maintaining visual separation.
Security Requirements
High-traffic areas need durable materials that withstand wear. Add features like:
- Anti-climb textures
- Reinforced gate hinges
- Motion-activated lighting zones
Pet Containment Solutions
Pet-safe fencing goes beyond height – consider digging prevention and non-toxic materials. For escape artists, extend barriers 6-12″ below ground or add inward-leaning tops.
Property Evaluation Essentials
Measuring Boundary Lines Accurately
Always verify property line regulations before digging. Your county assessor’s office provides plat maps showing exact dimensions. Pro tip: Schedule a professional survey if markers are missing or unclear.
Identifying Terrain Challenges
Sloped yards need stepped or racked fencing systems. Rocky soil might require post-hole alternatives like surface-mounted bases. Document elevation changes with simple tools:
- String level
- Measuring wheel
- Smartphone inclinometer app
Sun Exposure Considerations
South-facing fences endure more UV damage – factor this into material choices. Shaded northern sections might need mold-resistant treatments. Track sunlight patterns across seasons for optimal gate placement.
By methodically evaluating these elements, you’ll create a fence that solves practical needs while enriching your property’s natural features. Next, we’ll explore how different materials bring these plans to life.
Material Options for Modern Fences
Your fence materials do more than look good. They affect how long it lasts, how much upkeep it needs, and its cost over time. Let’s look at some popular choices to guide your decision.
Wood Fencing Solutions
Wood fences are classic and versatile. But, not all wood is created equal.
Cedar vs Pressure-Treated Pine Comparison
Cedar naturally fights off bugs and rot, lasting up to 40 years with the right care. It has beautiful grain patterns but costs more upfront. Pressure-treated pine is cheaper to start but needs sealing often to avoid warping.
| Feature | Cedar | Treated Pine |
| Lifespan | 25-40 years | 15-20 years |
| Maintenance Cycle | Every 3-5 years | Every 2-3 years |
| Cost per Linear Foot | $25-$35 | $15-$25 |
Long-Term Maintenance Requirements
- Re-stain cedar fences every 3 years
- Replace rotten pine posts every 8-10 years
- Apply water repellent annually in humid climates
Vinyl & Composite Materials
These synthetic options solve many wood-related problems. Let’s explore their benefits.
Cost-Benefit Analysis
Vinyl costs 50% more than pine at first but saves on staining. Composite materials mix wood fibers with plastics, giving:
- Zero painting needs
- 30+ year lifespan
- Options made from recycled materials
Color Retention Capabilities
Premium vinyl stays bright for 15+ years, even in full sun. Composite materials keep 90% of their color through freeze-thaw cycles, tests show.
Metal Fence Choices
Metal fences offer unmatched security and durability.
Wrought Iron Durability Factors
Rightly coated wrought iron can handle:
- High winds up to 90 mph
- Forced entry attempts
- Extreme temperature changes
Tip: Paint with rust-resistant paint every 5 years for best protection.
Aluminum Fencing for Coastal Areas
Aluminum is perfect for saltwater areas because it’s corrosion-resistant. Powder-coated options keep looking good without constant cleaning, beating steel in humid places.
Planning Your Fence Construction
Smart fence planning is about knowing the law and making good design choices. Before you start, make sure you know the rules and how your fence will fit with your property.
Legal Considerations
Following local rules helps your project be legal and friendly to neighbors. Start with these three steps:
Understanding Local Zoning Laws
Municipal codes have rules on:
- Maximum fence heights (usually 4-6′ for backyards)
- How far fences must be from property lines
- What materials are allowed in historic areas
Pro tip: Use your local government’s website to check boundaries before you mark where to put posts.
Permit Acquisition Process
Most places need permits for permanent fences. Here’s what to do:
- Call 811 to mark underground utilities (required in all 50 states)
- Submit plans showing fence size and materials
- Pay fees, which can be $50-$300 based on the project
If you want a taller fence, like a privacy screen, apply for a variance with photos of your property.
Layout Strategies
Good placement makes your fence useful and looks nice. Think about these things:
Gate Placement Best Practices
Putting gates in the right spot makes them easier to use:
| Gate Type | Ideal Location | Width Recommendation |
| Main Entry | Align with walkway/driveway | 4-6 feet |
| Utility Access | Near backyard storage | 3-4 feet |
| Pool Safety | Opposite house entrance | 5+ feet with self-closing hinge |
Incorporating Landscape Features
Work with your yard’s features for a natural look:
- Put fence lines around big trees
- Use staggered panels for slopes
- Align posts with garden beds for a nice look
Use biodegradable spray paint to mark your fence plan. It’s easy to change and disappears in 2-3 days.
DIY vs Professional Fence Construction
Choosing to build a fence yourself or hiring experts is more than just saving money. It impacts your schedule, safety, and overall happiness. Let’s explore what each choice entails so you can decide wisely.
What Does Each Option Demand?
Before starting your DIY fence project, think about the practical aspects. Success depends on having the right tools, managing your time well, and being physically fit.
Essential Tools for Self-Installation
You’ll need more than a hammer and nails for this project. Key tools include:
- Post hole digger or auger
- 4-foot level for alignment
- Circular saw for cutting materials
- Concrete mixer for setting posts
Many homeowners rent specialty tools from stores like Home Depot, which can cost $50-$150/day. Forgetting just one item could stall your project.
Time Investment Realities
A 100-foot wooden fence typically takes 3-5 weekends for DIYers. Professionals often complete similar projects in 2-4 days thanks to their crew sizes and experience. Ask yourself: Can you handle weather delays or unexpected underground utilities?
Breaking Down the Costs
While DIY fence installation seems cheaper upfront, hidden expenses can surprise you. Here’s how the numbers stack up:
| Factor | DIY | Professional |
| Material Costs | Retail prices + 15% markup | Wholesale rates |
| Labor | Your time (free) | $30-$50/hour per worker |
| Tool Expenses | $200-$400 rentals | Included |
| Warranty | None | 5-10 years |
Material Markup vs Labor Costs
Big-box stores charge 10-20% more for materials than contractors pay. Expert fence construction services include labor fees averaging $3,000-$5,000 for standard projects. The break-even point? Projects requiring specialized skills (like sloping land) often justify hiring pros.
Warranty Considerations
Most DIY mistakes become apparent within 6 months—leaning posts, warped boards, or rusting hardware. Professional installers like those through Home Depot Pro Services typically offer warranties covering materials and workmanship. This safety net becomes valuable if harsh weather hits.
Key takeaway: DIY works best for small, simple fences if you enjoy physical work. For complex layouts or premium materials, professional fencing services provide peace of mind and long-term value.
Installation Process Walkthrough
Ready to make your fence dreams come true? This guide will walk you through each step, from start to finish. It’s all about precision and smart shortcuts. Let’s get started on turning your property into a beautiful fence.
Site Preparation Steps
A strong foundation is key for a lasting fence. Begin by marking your fence area with stakes and mason’s line. This helps keep everything straight and avoids mistakes.
Proper Post Hole Digging Techniques
Use the 3-4-5 squaring method for perfect corners. Here’s how it works:
- Dig holes 1/3 the height of your posts (e.g., 24″ deep for 6′ tall fences)
- Make diameters 3x wider than posts for proper concrete support
- Space holes according to your fence panel installation plan
Concrete Mixing Ratios
Get your concrete mix right with this formula:
| Concrete Type | Water Ratio | Setting Time |
| Fast-Setting | 4.5 quarts per 50lb bag | 20-40 minutes |
| Standard | 5.5 quarts per 50lb bag | 24-48 hours |
Assembly Best Practices
Now, it’s time to see your fence come to life. Remember these tips as you put it together.
Rail Alignment Methods
Use a story pole (marked board) for even rail heights. For diagonal bracing, cut rails at 45-degree angles with a speed square.
Picket Spacing Tricks
Here are some hacks for even gaps:
- Use a 2×4 block as a spacer between pickets
- Mark nail positions with painter’s tape on rails
- Install end pickets first, then work inward
Finishing Touches
These last steps make your fence look amazing. Choose finishes that match your home and last long.
Staining vs Painting Options
Stains soak into wood, protecting it naturally. Paints offer bold colors but need more upkeep. Apply finishes in dry weather (50-90°F ideal) for even coverage.
Decorative Post Cap Ideas
Top your posts with style:
- Solar-powered caps for subtle pathway lighting
- Copper finials that develop a rustic patina
- Geometric metal designs for modern flair
Maintenance & Long-Term Care
To keep your fence looking great and working well, regular care is essential. A simple routine can help it last longer and save you money on repairs. Here are some practical tips to protect your investment all year round.
Seasonal Maintenance Checklist
Staying consistent is key to avoiding common fence problems. Follow this schedule to stay on top of maintenance:
Wood Rot Prevention Methods
- Apply water-repellent stain every 2-3 years (oil-based formulas work best)
- Clear debris from fence bases to reduce moisture buildup
- Inspect for soft spots after heavy rains using a screwdriver test
Rust Treatment for Metal Fences
- Scrub minor corrosion with steel wool and vinegar solution
- Use rust-inhibiting spray paint for exposed metal areas
- Check weld points annually for structural integrity
Repair Strategies
Even with good care, fences sometimes need repairs. Here’s how to fix common problems:
Post Replacement Techniques
- Dig around old posts using a clamshell digger
- Set new posts in quick-setting concrete mixed with gravel
- Use temporary braces during 48-hour curing period
Vinyl Panel Repair Solutions
- Heat warped sections with a hairdryer to reshape
- Replace cracked panels using manufacturer-specific connectors
- Clean with mild detergent to maintain UV protection
For composite materials, mix 1/4 cup dish soap with warm water for monthly cleaning. Fix small problems quickly to avoid bigger issues later!
Making the Right Choice for Your Property
Building a fence needs careful planning to mix usefulness and looks. The materials and design you pick affect your property’s safety, privacy, and appeal. Studies show homes with good fences can see a 5-15% increase in value, making it a wise investment.
Homeowners should think about cost and durability when deciding between DIY or hiring pros. Home Depot offers design help and installation, making sure everything follows local rules and is done right. Their experts help find the best wood, vinyl, or metal fences for your yard and budget.
Keeping your fence in good shape helps it last longer and look better. Check it often and fix small problems quickly to avoid big costs. Whether you’re updating or starting from scratch, choose quality materials and do it right for the best results.
Ready to improve your property? Check out Home Depot’s fencing options online or visit a store for advice. Their team makes the process easy, from getting permits to caring for your fence after it’s installed. They help you create a useful and beautiful boundary that increases your home’s value.