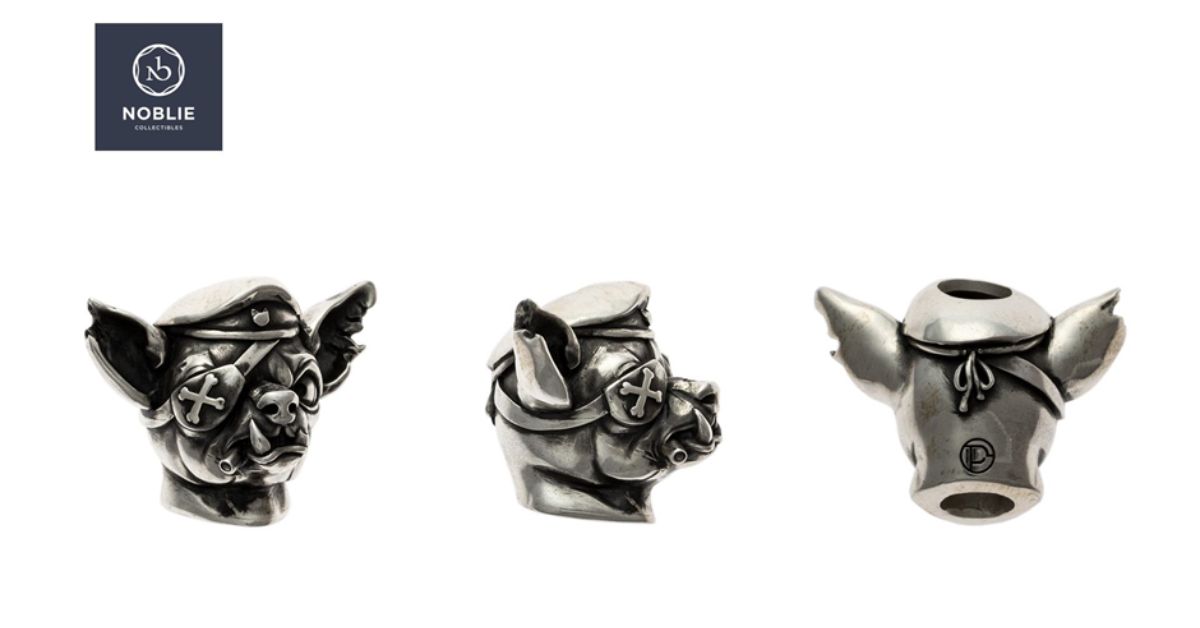
A beads lanyard is a simple yet stylish way to keep your essentials close and easily accessible. Whether you’re heading to work, hitting the trails, or just running errands, a versatile beads lanyard can elevate your gear and add a touch of personality to your daily routine. Here’s how to create and customize your own beads lanyard for both fashion and function.
Materials You’ll Need
Before you start, gather the following materials:
- Paracord or Cord: Choose a durable paracord or cord in your favorite color or pattern.
- Beads: Select beads that match your style, such as metal, plastic, wooden, or glow-in-the-dark beads.
- Scissors: For cutting the cord to the desired length.
- Lighter: To melt and seal the ends of the cord to prevent fraying.
- Needle: Optional but helpful for threading beads onto the cord.
- Key Ring or Clip: For attaching your lanyard to keys, ID cards, or other essentials.
Step-by-Step Guide
- Measure and Cut the Cord
Decide on the desired length of your lanyard. A standard length is around 36 inches, but you can adjust it to suit your needs. Cut the cord to the desired length and use a lighter to melt and seal the ends, preventing fraying.
- Plan Your Design
Before you start threading beads, plan the design of your lanyard. Decide where you want to place the beads and what pattern you want to create. This will help you achieve a balanced and cohesive look.
- Thread the Beads
Using a needle can make threading beads onto the cord easier, especially with smaller beads. Thread the beads according to your planned design. You can space them evenly or create clusters for a more dynamic look.
- Secure the Beads
To keep the beads in place, tie knots on either side of each bead. You can use simple overhand knots or more intricate knots like the cobra knot or snake knot. This not only secures the beads but also adds texture and style to your lanyard.
- Attach the Key Ring or Clip
Once the beads are threaded and secured, attach a key ring or clip to one end of the cord. This will allow you to easily attach your lanyard to keys, ID cards, or other essentials. You can use a loop and knot closure or a metal clasp for a more polished look.
- Adjust and Finish
Make final adjustments to ensure a comfortable fit. Trim any excess cord and seal the ends with a lighter. Make sure the beads and knots are secure and evenly spaced.
Design Ideas
Here are some design ideas to inspire your beads lanyard creations:
- Minimalist Elegance
Use a single bead as a focal point in the center of the lanyard. Choose a sleek metal bead for a modern, minimalist look that complements any outfit.
- Colorful Statement
Create a vibrant lanyard by clustering beads in various colors. Mix and match different bead types for a playful and eye-catching design that stands out.
- Nature-Inspired
Incorporate wooden beads and natural colors for an earthy, rustic lanyard. Add leaf-shaped charms or engraved beads for an extra touch of nature.
- Glow-in-the-Dark
Use glow-in-the-dark beads to create a lanyard that stands out in low-light conditions. Perfect for night-time outdoor activities or as a fun accessory.
- Personalized Touch
Add custom beads with initials, names, or meaningful symbols. Personalization makes your lanyard unique and special, perfect for gifts or personal use.
Conclusion
Creating a versatile beads lanyard from Noblie Custom Knives is a fun and rewarding activity that allows you to personalize your gear and make a style statement. With a variety of materials and design possibilities, you can craft a lanyard that reflects your personality and meets your practical needs. Whether you’re making a lanyard for yourself or as a gift, the addition of beads will elevate your creation to a new level of elegance and functionality.
CLICK HERE FOR MORE BLOG POSTS


